
Apr
why you’ll love this table mat?
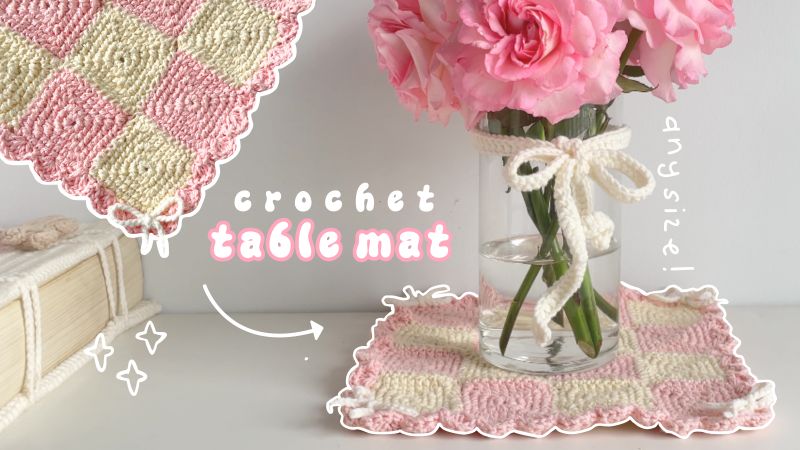
this checkered crochet table mat is not just a decorative piece – it’s a practical and stylish
way to protect your table from heat, scratches, and spills. Need a bigger size? Simply adjust
the pattern to create a laptop mat, desk pad, or even a placemat set! Whether you’re a
beginner or an experienced crocheter, this easy-to-follow pattern will help you create
something both functional and cute.
HOW TO CROCHET A CUTE TABLE MAT – EASY TUTORIAL FOR BEGINNERS
- min
- apr, 03, 2024
Why You’ll Love This Table Mat?
This checkered crochet table mat is not just a decorative piece – it’s a practical and stylish way to protect your table from heat, scratches, and spills. Need a bigger size? Simply adjust the pattern to create a laptop mat, desk pad, or even a placemat set! Whether you’re a beginner or an experienced crocheter, this easy-to-follow pattern will help you create something both functional and cute.
This is the written pattern for my youtube tutorial. I highly recommend watching the video tutorial first for demonstrations so you can accurately follow the pattern. Also, please refer to the helpful timestamps on the youtube video if you’re confused about any part of the pattern!
Table of content
1. Materials & tools
Yarn: Simply Yarn (Recycled cotton, Polyester), 150 g (5.29 oz), 160 m (175 yds), one ball in color 32 & 02.
Yarnart jeans (55% cotton – 45% pac), 50g (1.76 oz), 160 m (174 yds), one ball in colors 03.
Hook: 3.5mm (recommend hooks 2.75 – 3.5mm).
Needle
Scissors
2. Pattern use ideas
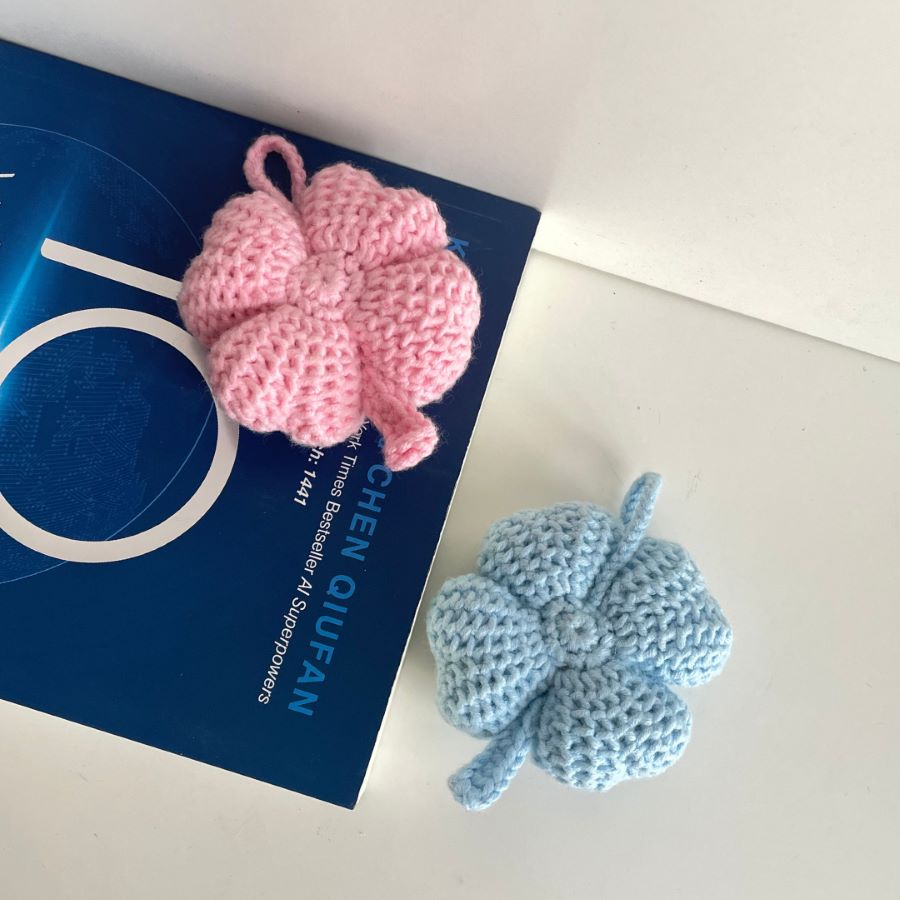
You can adjust the size of the mochi by using a larger crochet hook or the size of the yarn.
3. Crochet pattern
Part 1: Square.
R1: MR with 8sc.
R2: 1slst to end R1, chain 1, [3sctog] into the 1st stitch (always mark the center stitch), repeat 3 times (16).
R3 – n: Each stitch is a sc. For the center stitch (marked), crochet [3sctog] into the same stitch.
You can adjust the square size by adding more rows. Here, I have crocheted 5 rows and made 8 white and 8 pink pieces.
Arrange the pieces in a checkerboard pattern and sew them together.
Part 2: Border of Square
(Start with simply yarn in color 05)
Slip stitch into any stitch, skip 1, crochet [6 dc] into the 3rd stitch, skip 1, slst into the 5th crochet, skip 1, [6 dc] into the 7th stitch, repeat around until the entire table mat is covered.
Part 3: Bow
(Start with YarnArt yarn in color 03)
Small: crochet X chain, depending on the length of the bow you want (I crochet 55 chains).
Tie it to the table mat.
Big: Chain X to fit your vase, skip 2, 1 dc into every stitch until the end, cut and hide the yarn.
Pattern Use & Copyright
- This pattern is for personal use only. Do not redistribute or resell.
- You may sell finished products made from this pattern but please credit the designer.
Stay updated
don’t miss out! sign up for our newsletter and be the first to know about our latest posts and exciting projects.
Stay updated
don’t miss out! sign up for our newsletter and be the first to know about our latest posts and exciting projects.
4. Video tutorial
I always look forward to seeing your crochet creations when you try any of my patterns or follow my tutorials.
Please tag me @mincrochets or use the hashtag #mincrochets so i can admire and share your beautiful work!

related projects
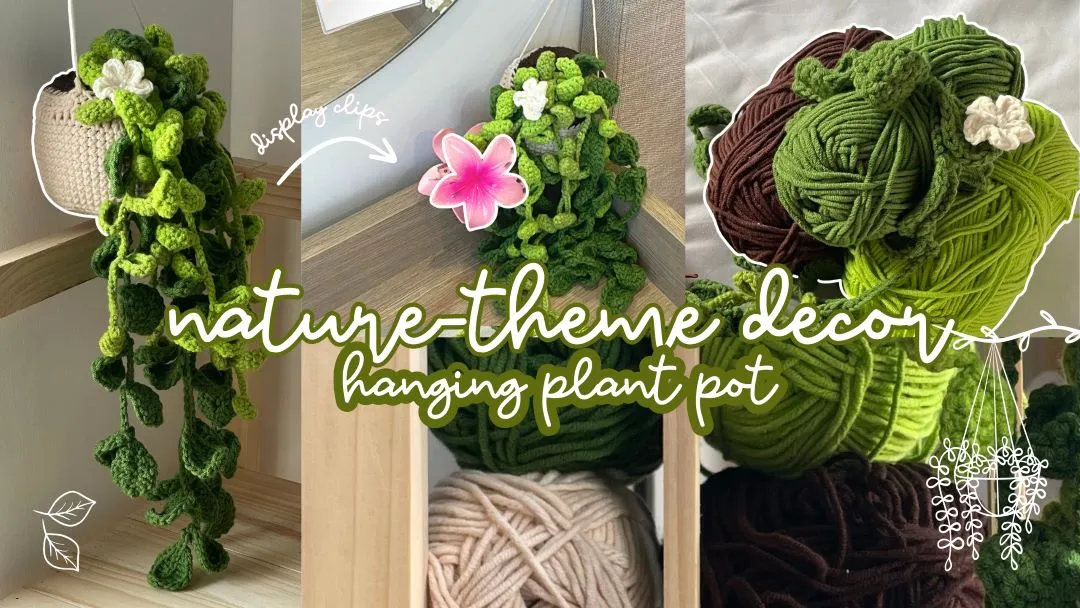
Tutorials home – tutorials Cute&easy crochet hanging plant pot | room decor tutorial (nature-themed tutorials)…