
Mar
how to cute&easy crochet flower hair clip & headband | beginner friendly tutorial
This crochet pattern provides instructions to crochet cute flower hair clips and headbands. These are wonderful accessories to add a personal touch to your outfits or to give as gifts to your loved ones. With this tutorial, you’ll easily create charming and unique items.
I highly recommend watching the video first to get a clearer understanding and to easily follow along with the pattern. If you encounter any difficulties with any part of the pattern, feel free to refer to the helpful timestamps in the YouTube video!
how to cute&easy crochet flower hair clip & headband | beginner friendly tutorial
- min
- mar 16, 2024
- download pattern
This crochet pattern provides instructions to crochet cute flower hair clips and headbands. These are wonderful accessories to add a personal touch to your outfits or to give as gifts to your loved ones. With this tutorial, you’ll easily create charming and unique items.
I highly recommend watching the video first to get a clearer understanding and to easily follow along with the pattern. If you encounter any difficulties with any part of the pattern, feel free to refer to the helpful timestamps in the YouTube video!
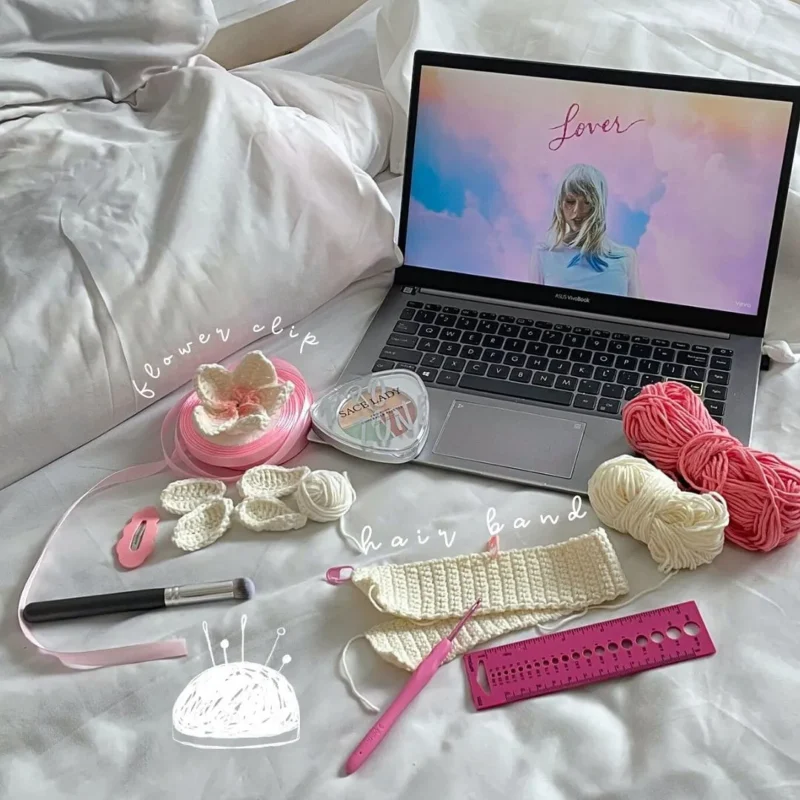
Table of content
1. Materials & tools
- Yarn: Yarnart Jeans Plus (55% cotton – 45% pac), 100 g (3.52 Oz), 160 m (174.98 yds), 1 ball in colors 01, 78
- Hook: 3mm crochet hook (or size appropriate for your yarn)
- Needle: Tapestry needle (if needed)
- Hair Clips
- Scissors
- Glue
- Blush palette
- Ribbon
- Storage cabinet: Keep your yarn organized and easily accessible while working on your project. Check it out here.
1.1 Pattern Notes
Skill Level: Beginner.
Written in UK terms.
You can adjust the size of your headband by increasing or decreasing the number of stitches.
1.2 Terms & Abbreviations
Sl st: Slip stitch
Sc: Single crochet
Hdc: Half double crochet
Dc: Double crochet
Tr: Treble crochet
If you’re a beginner, click here to view my basic crochet stitches tutorial.
2. Pattern use ideas
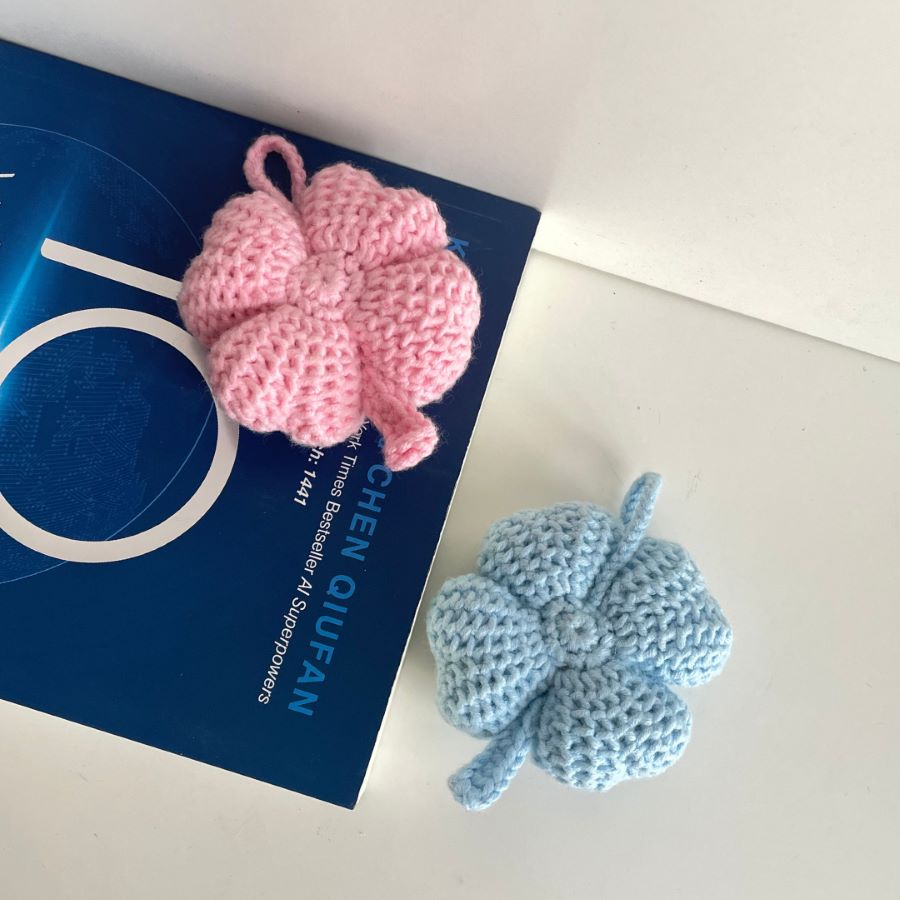
You can use these cute and easy crochet flower hair clips and headbands to add a personal, handmade touch to your outfits or as thoughtful gifts for loved ones. They’re versatile, perfect for both everyday wear and special occasions, and can be customized with different colors and embellishments to match any style.
3. Crochet pattern
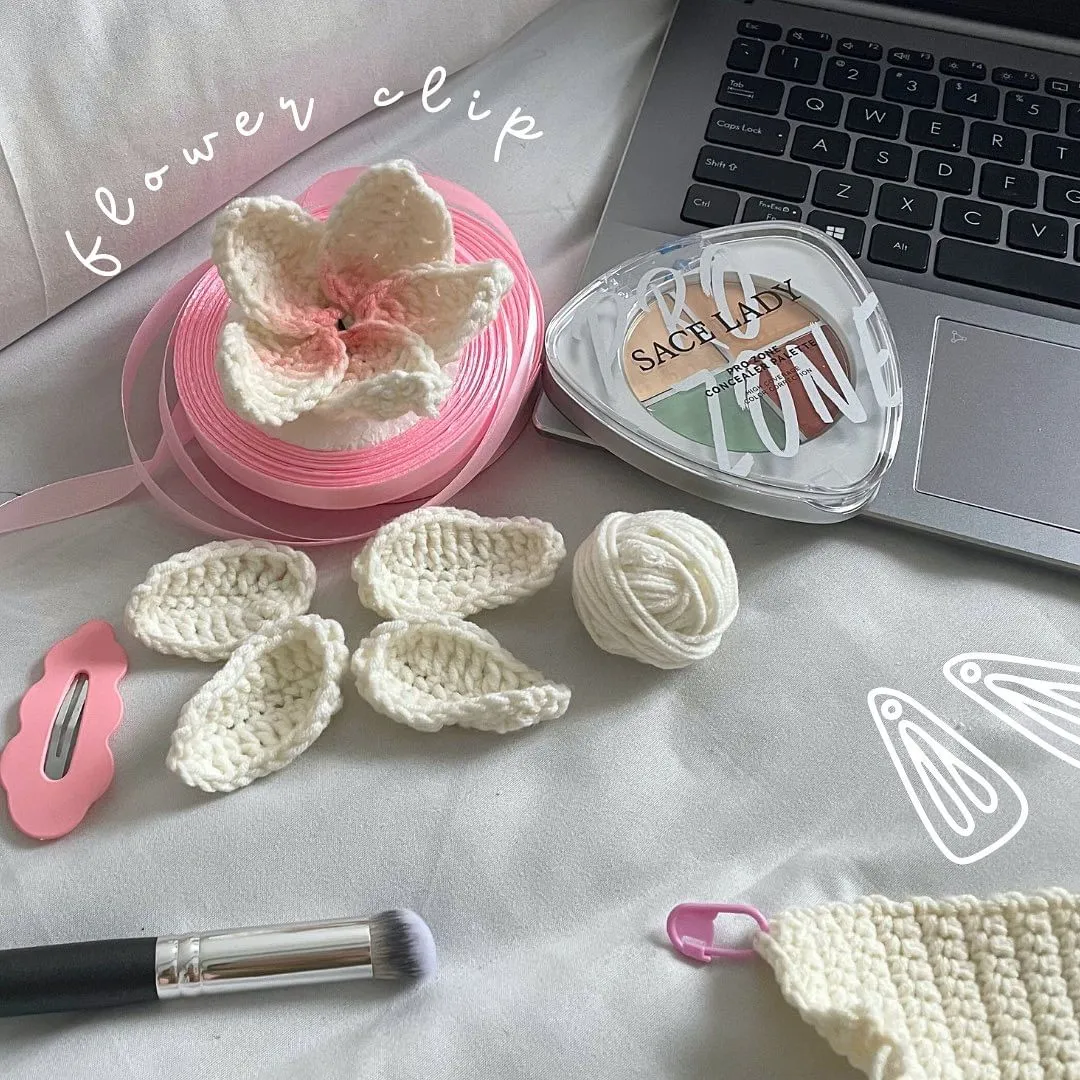
Part 1: Flower hair clip
– Repeat this step to create 5 petals:
Make a slip knot and chain 11 (not too tight).
Skip the first chain, insert 9 sc (1 sc into each chain), 3 sc into the last chain.
3 dc (1 dc into each chain on the other side).
Next, 5 tr(1 tr into each chain on the other side).
In the last chain, 1 sc.
1sc into the first chain on the other side, 5 tr, 3 dc.
Slip stitch to finish the petal.
Use a needle to weave in the ends.
Crochet a small circle to serve as the base for the flower, then attach the flower to the hair clip by crocheting the small circle onto the clip.
Glue the hair clip to the back of the flower or crochet the flower directly onto the clip.
Part 2: Headband
Part 2.1: Body
Make a slip knot and chain 11 (adjust the width of the headband if needed).
Skip the first chain, 10 sc (1 sc into each chain).
Chain 1, turn, 1 sc into each chain.
Chain 1, turn, 1 sc into each chain.
Repeat these steps until you reach the desired length of the headband.
Part 2.2 Tapering ends
Continue with this yarn.
A chain, skip 1 sc at the beginning and end of the last row.
Repeat this until you have 4 chains in a row.
Chain 6, 1 slst into the last chain.
Do the same with the other side.
Part 2.3: Border
To make a border, use another color, 1 sl st around your work.
Cut a piece of ribbon, thread it into two small holes.
*Pattern Use & Copyright
- This pattern is for personal use only. Do not redistribute or resell.
- You may sell finished products made from this pattern but please credit the designer.
Stay updated
don’t miss out! sign up for our newsletter and be the first to know about our latest posts and exciting projects.
Stay updated
don’t miss out! sign up for our newsletter and be the first to know about our latest posts and exciting projects.
4. Video tutorial
5. Conclusion
I hope you enjoyed making these lovely flower hair clips and headbands! They’re perfect for adding a handmade touch to your accessories or gifting to loved ones. Don’t forget to personalize them with your favorite colors and embellishments.
I’d love to see your beautiful creations, so use the hashtag #mincrochets or tag me @mincrochets in your posts. Be sure to share, like, and subscribe to stay updated on the latest free projects I share. Thank you for following along, and happy crocheting!

related projects
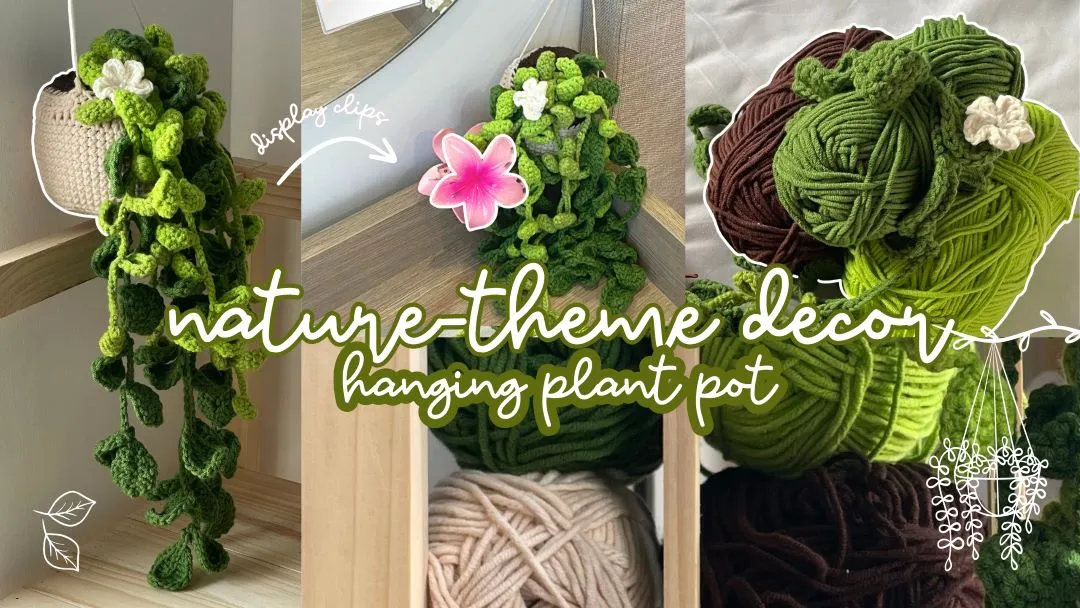
Tutorials home – tutorials Cute&easy crochet hanging plant pot | room decor tutorial (nature-themed tutorials)…